Back to Help Center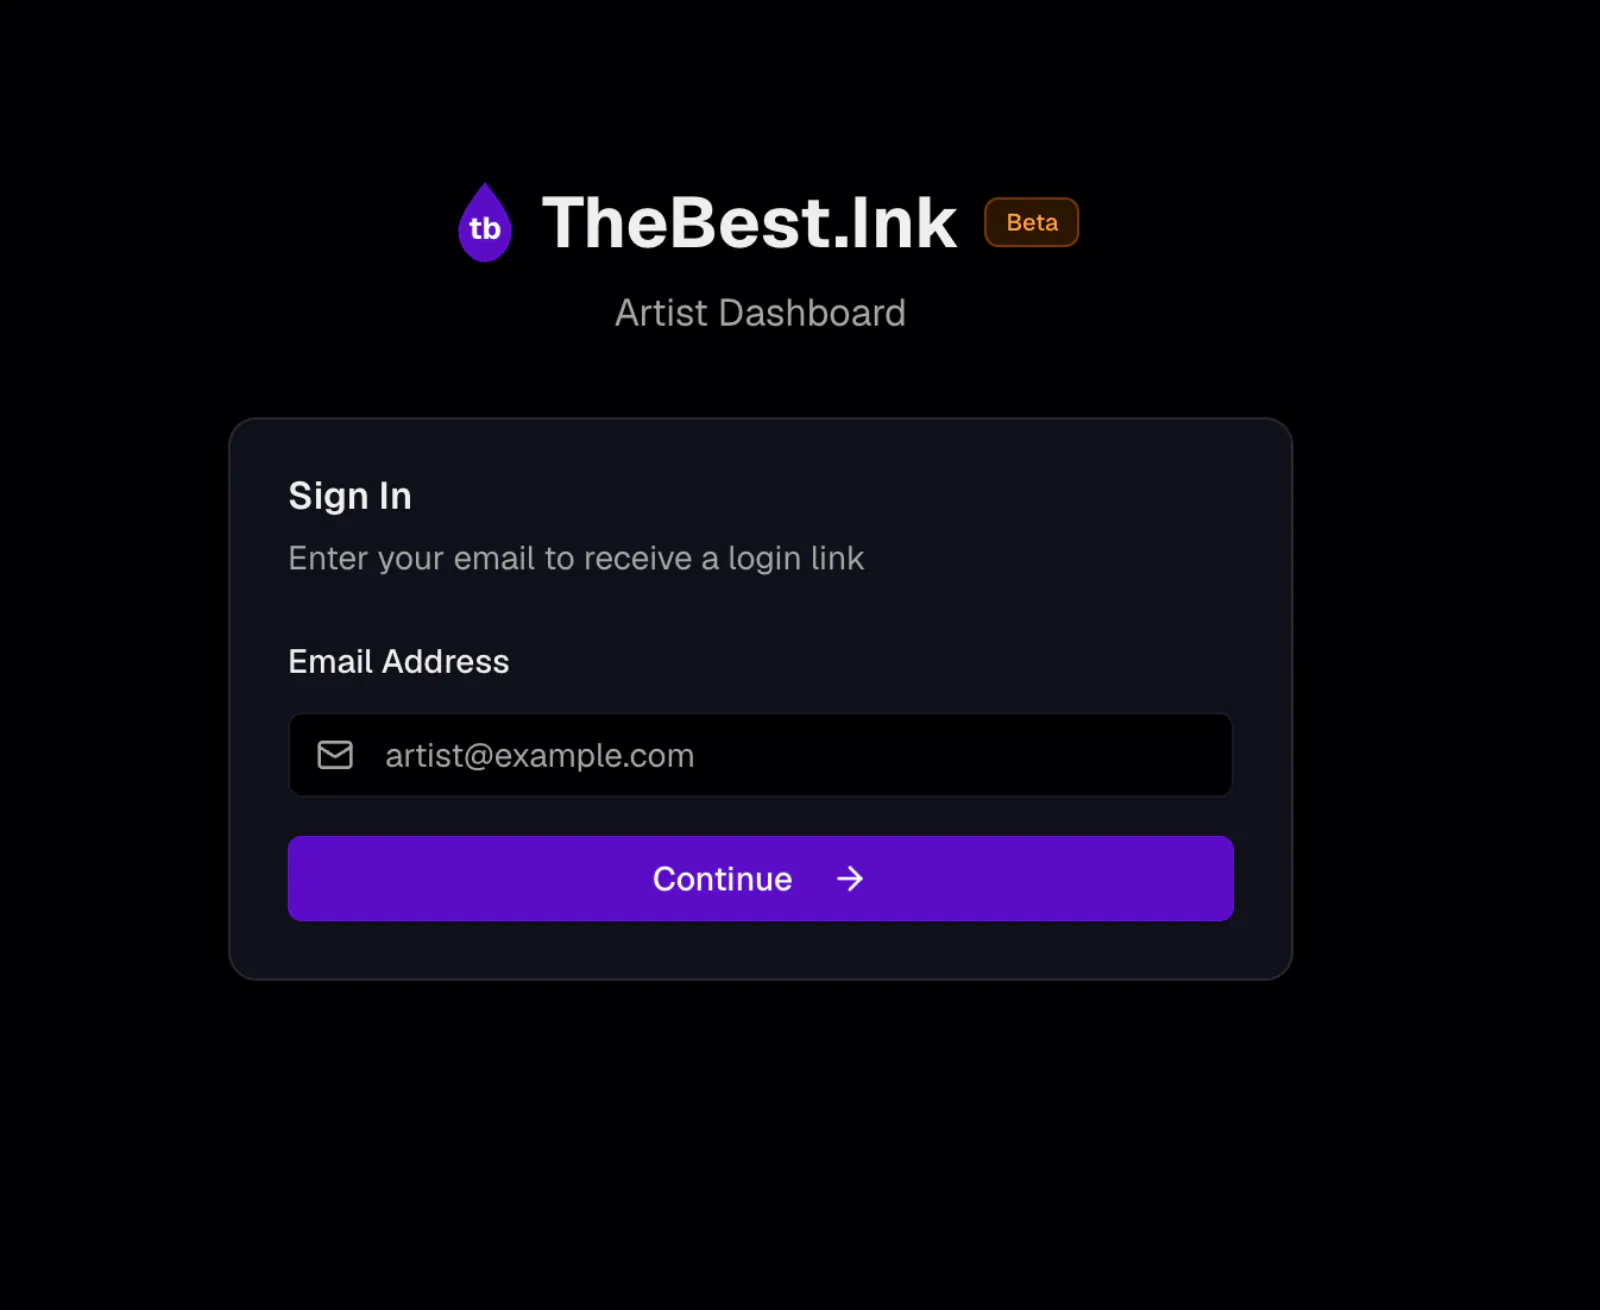


How to open and answer appointment requests
Turn on requests, see what clients see, and manage every request from first message to finished tattoo
Appointment requests let clients ask you for a tattoo directly from your public profile. This guide covers turning requests on, what visitors see on your profile, and how to answer and track requests once they come in.
Manage requests as an artist
You configure and manage requests in your artist dashboard at dashboard.thebest.ink. Contact actions may open your email, WhatsApp, or SMS app.
1
Log in to your dashboard
Go to dashboard.thebest.ink and sign in with your email. We send you a login link - no password needed.
2
Open Availability for requests
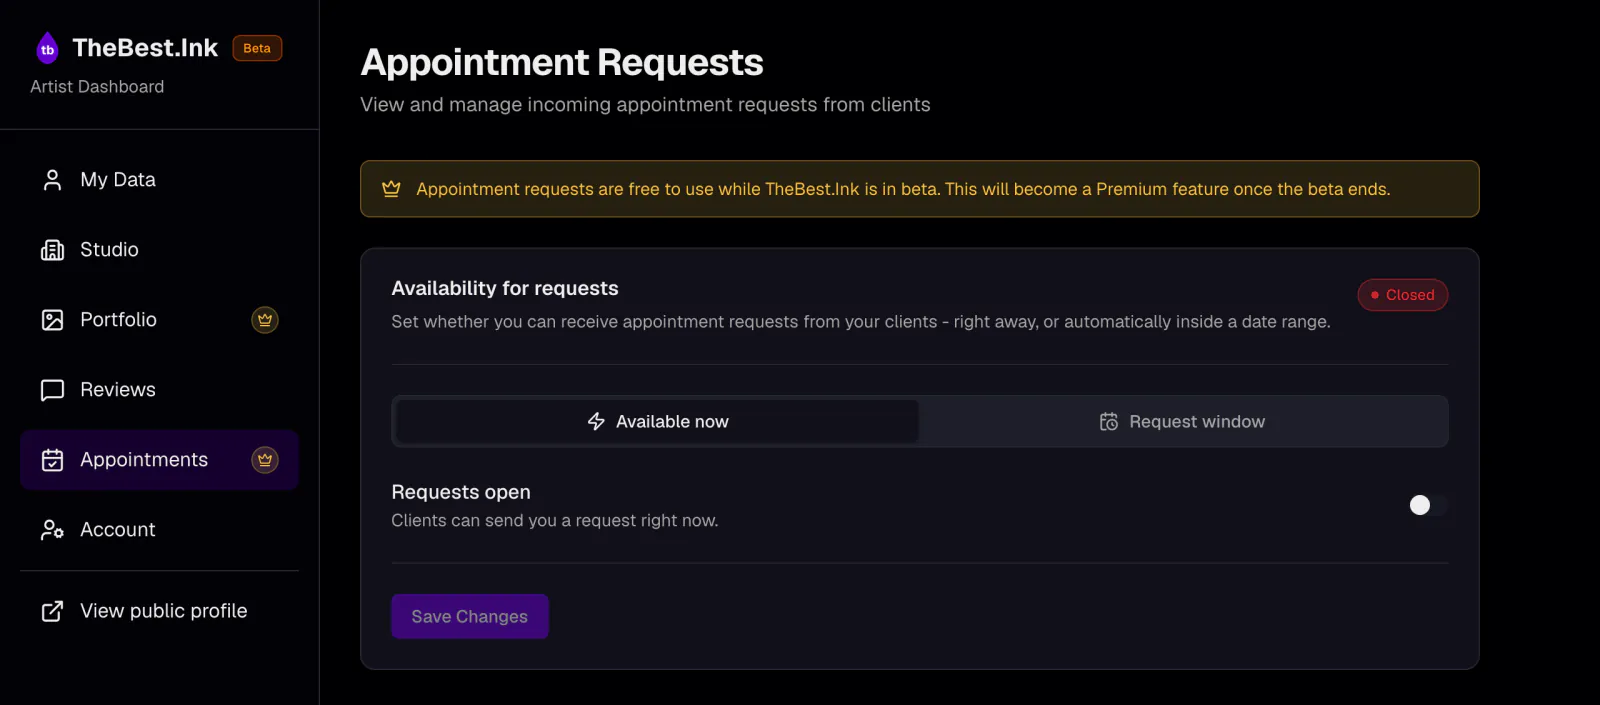
In the sidebar, select "Appointments". At the top of the page you will find Availability for requests, where you turn appointment requests on or off and, if you like, set a date when they should open.
3
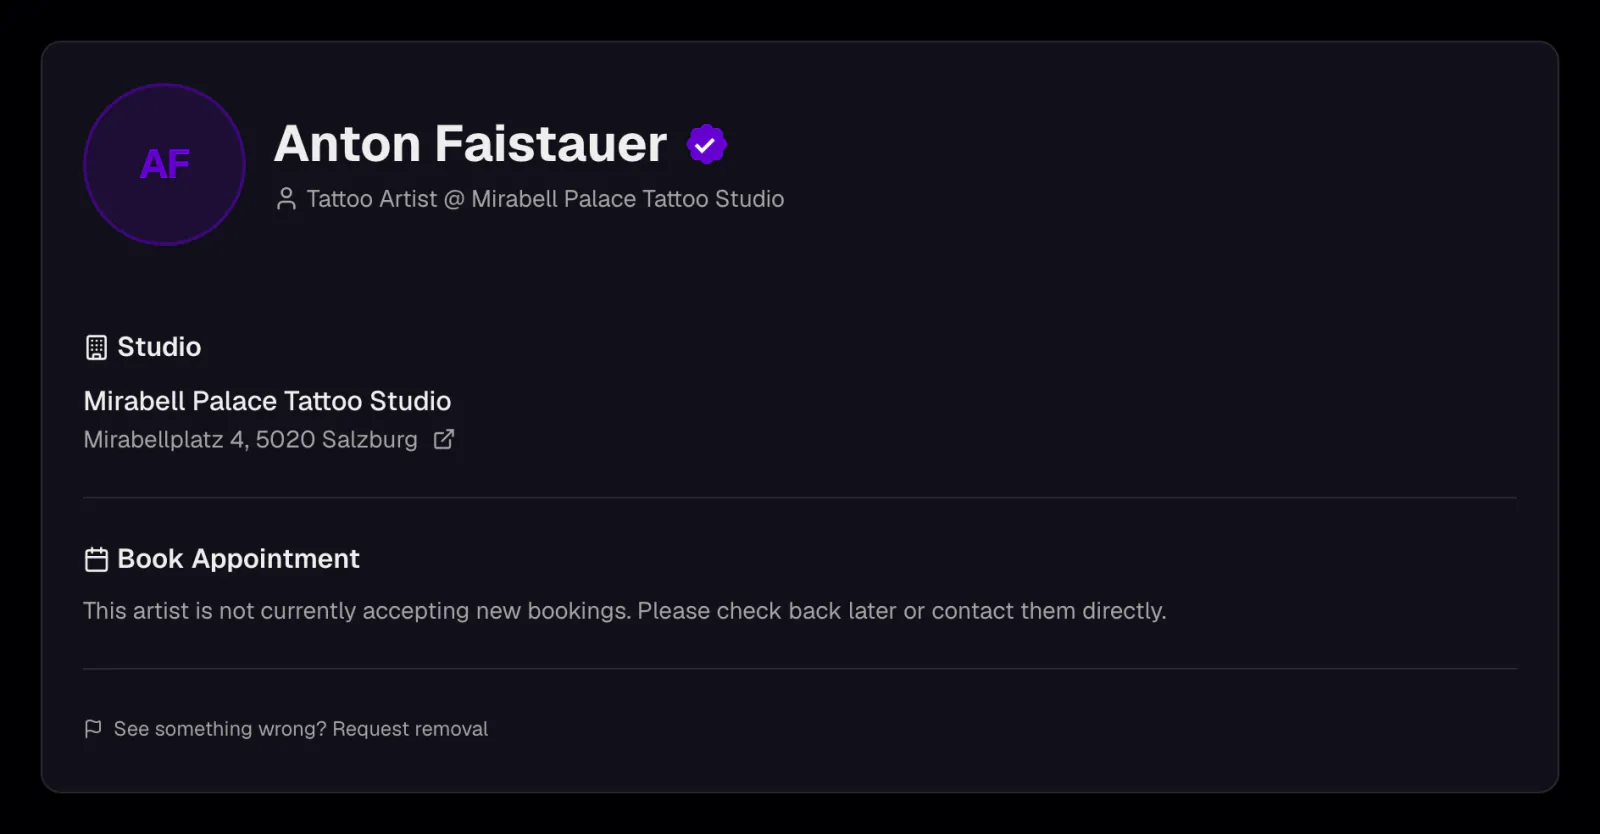
Your profile while requests are closed
With "Requests open" turned off and no opening date set, your public profile does not show a booking button - visitors only see that requests are not open yet.
4
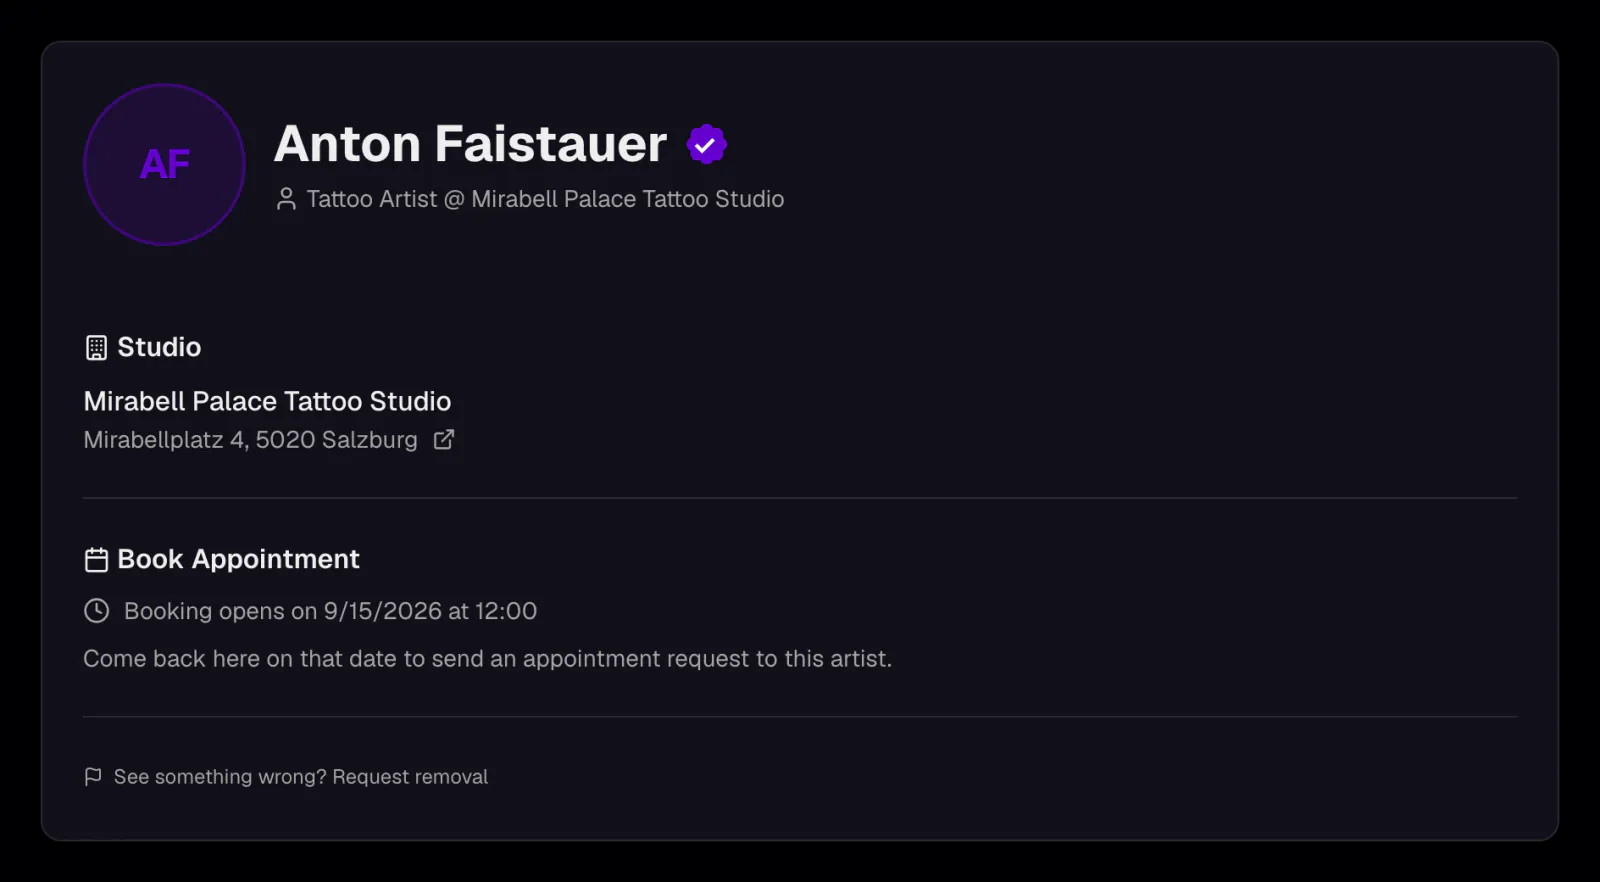
Your profile with an opening date set
If you set a future date in Availability for requests while requests are still closed, your profile shows visitors when requests open instead of a booking button.
We do not support timezones yet. Whatever date and time you set is always interpreted as Europe/Vienna time.
5
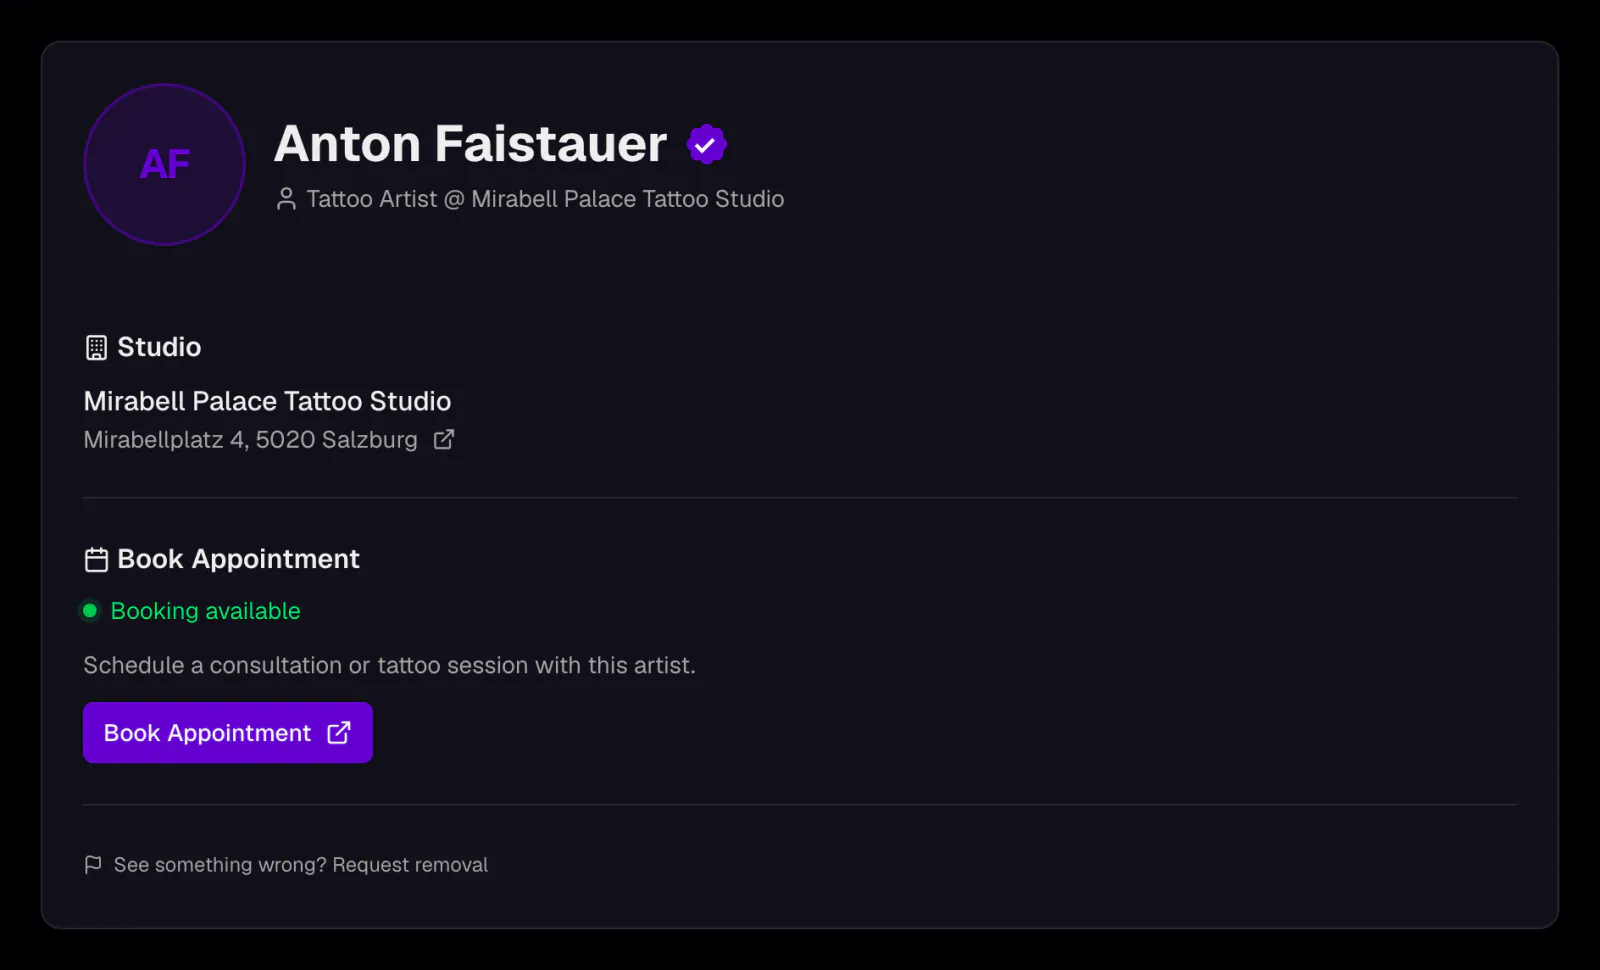
Your profile while requests are open
Once "Requests open" is turned on, your profile shows a button that takes visitors straight to your booking form.
6
Get a notification for every new request
As soon as someone submits a request, you receive an email summarizing their message, tattoo size, availability, contact details, and the number of reference or placement images. For privacy, the images are not attached; open the request in your dashboard to see them.
7
Contact the client using their details
Do not reply to the notification email: it comes from a no-reply address and does not use the client's address as Reply-To. Instead, select the client's email address or WhatsApp link in the notification, or use the contact actions in the dashboard.
8
View and manage the full request
Open the request on the Appointments page to see the uploaded images, use the email, WhatsApp, or SMS options available for the contact details the client provided, and track the request's status.
9
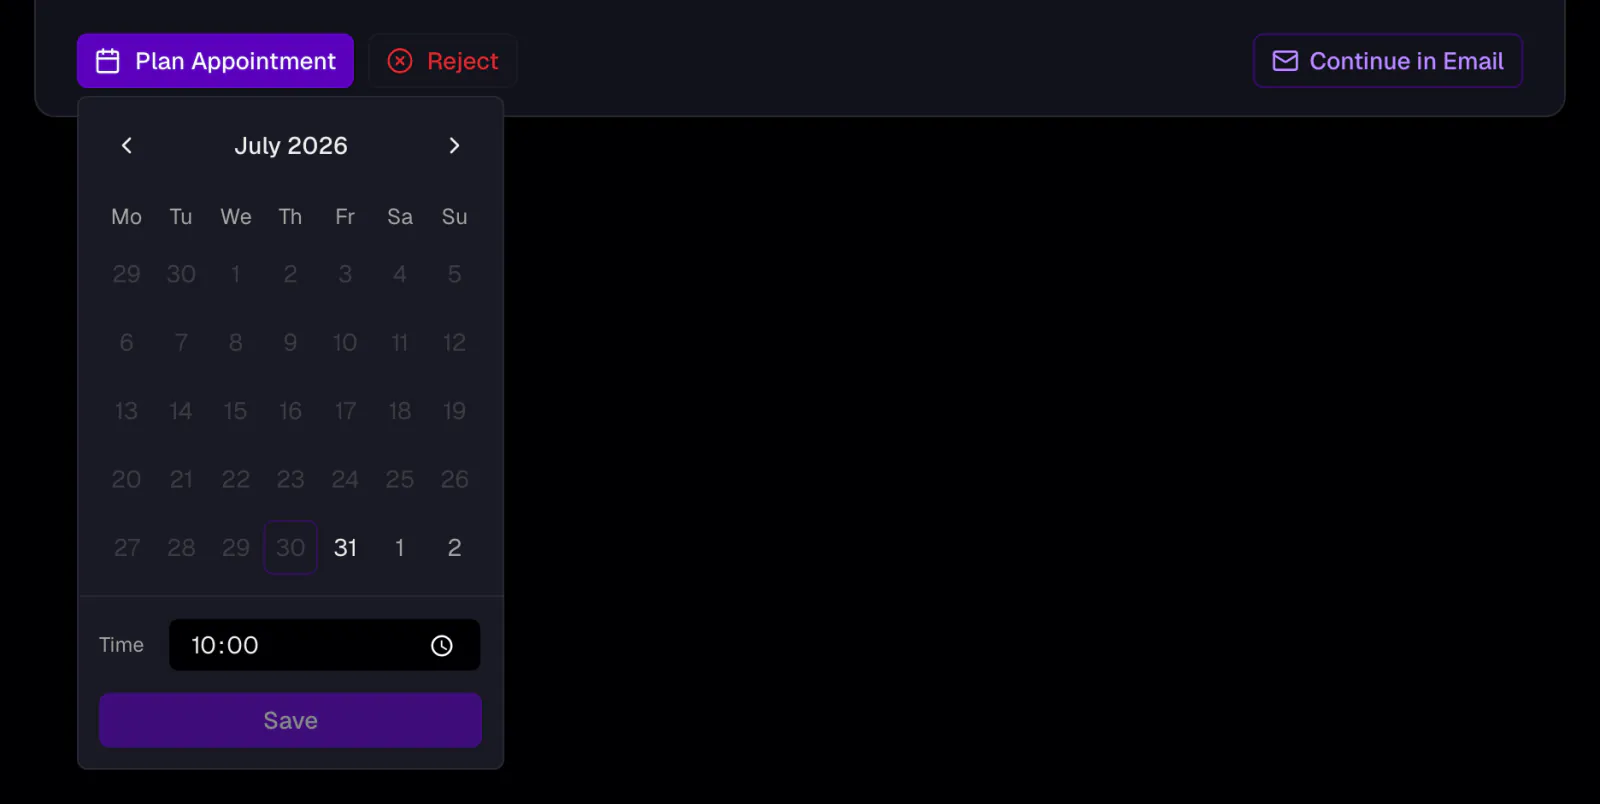
Set the appointment date
Once you and the client agree on a date, select "Plan Appointment" on the request and pick the date and time. The request moves to Planned automatically.
10
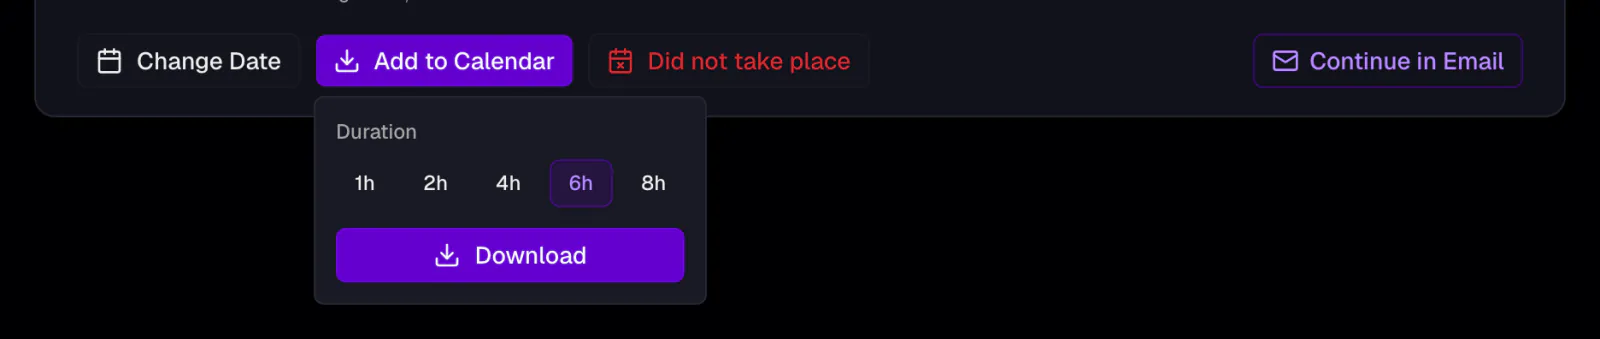
Add it to your calendar
Once a request is planned, download it as an .ics file and import it into whichever calendar app you use.
11
Automatic review reminder
The day after a completed appointment, we automatically email the client a reminder to leave a review - as long as they provided an email address, currently allow emails, and the reminder is enabled. You can switch it off from the request before it is sent.
Something not working? Contact us and we will help you at support@thebest.ink